Building the floor

Since we removed the previous industrial floor with a crowbar it was left to us to build one we like better. The build itself was actually only a matter of days, although the turn of events (our lack of experience) forced us to disassemble and resassemble it a few times until it was final.
We started by cleaning the edges of the previous holes, applying anti-rust and sealing them with black sillicon. For the bigger holes, we got helped by Alexandre who closed them by riveting aluminium plates.
 Alexandre riveting alu plates
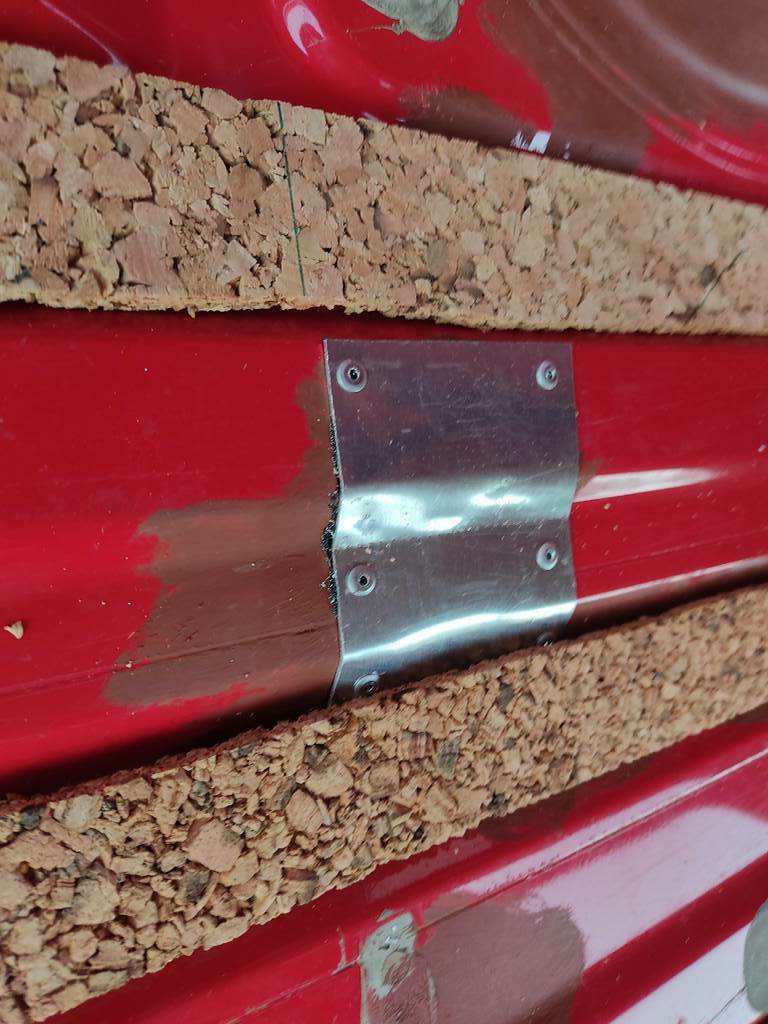 Alu plate repair
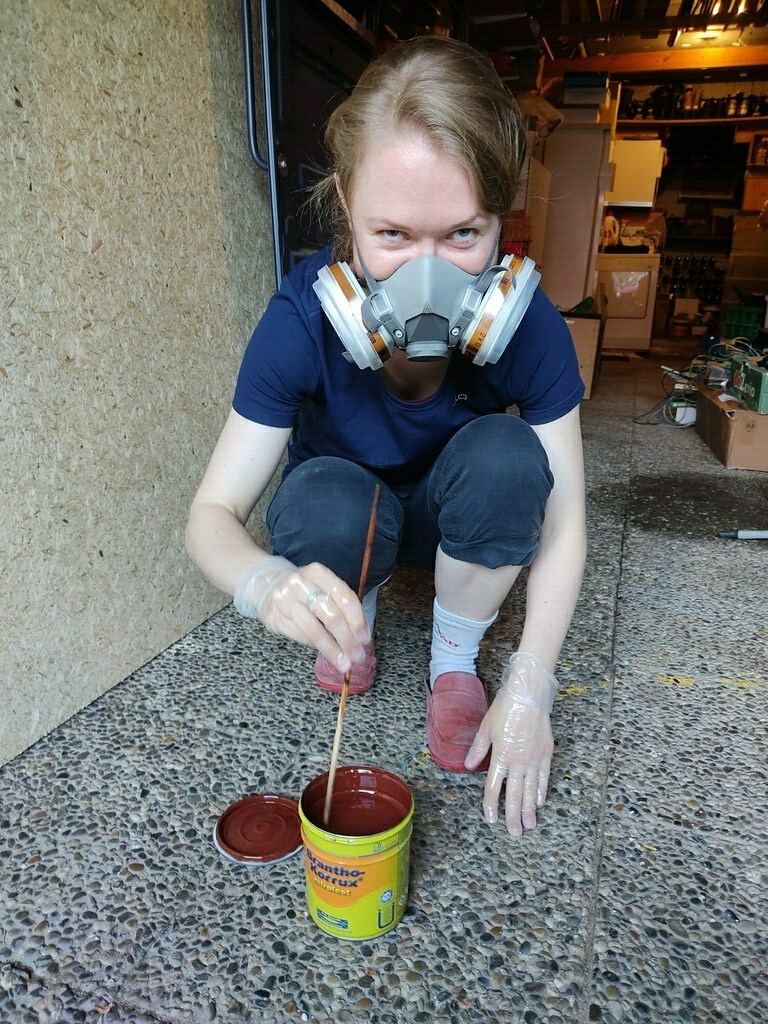 Camille applying anti-rust
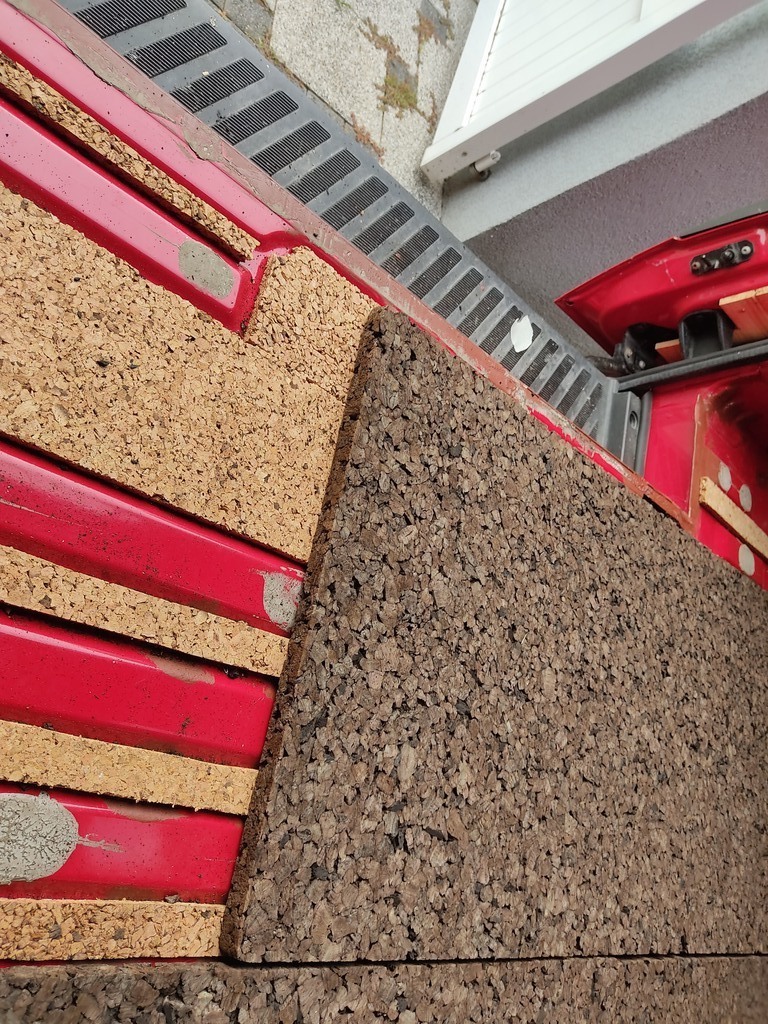
For insulation, we have a first layer of 10mm compact cork that we put in the lowest part of the van to equalize the floor surface. Then comes a second layer of 20mm expanded cork which covers the whole surface. This insulation is protected from humidity by the intello plus membrane, on which sits 15mm OSB panels. All parts were cut to fit the van shape as good as we could (except for the wheels around which we will build a box).
 Cork layers
 Completed expanded cork layer
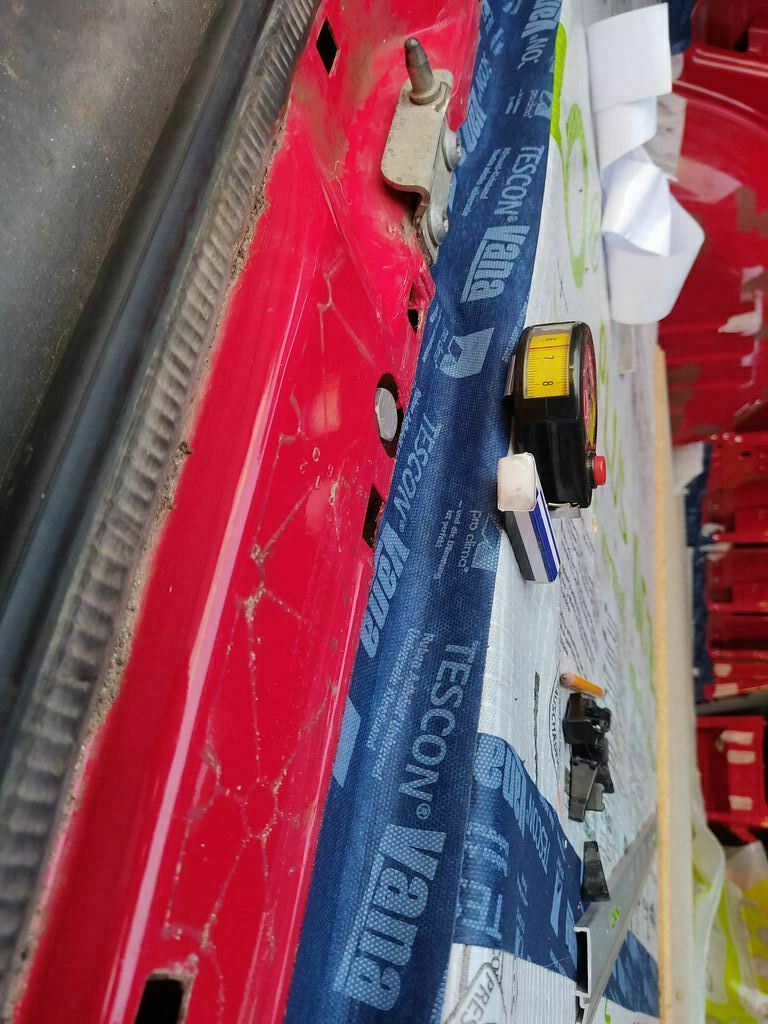 Airtight membrane
There are 4 OSB panels, which were machined with a router to fit into each other. For each panel, there are four long screws going all the way down to the metal to hold them in place. The membrane seals around the screws thanks to the tescon naideck tape.
 Front OSB panel
 Cut to size
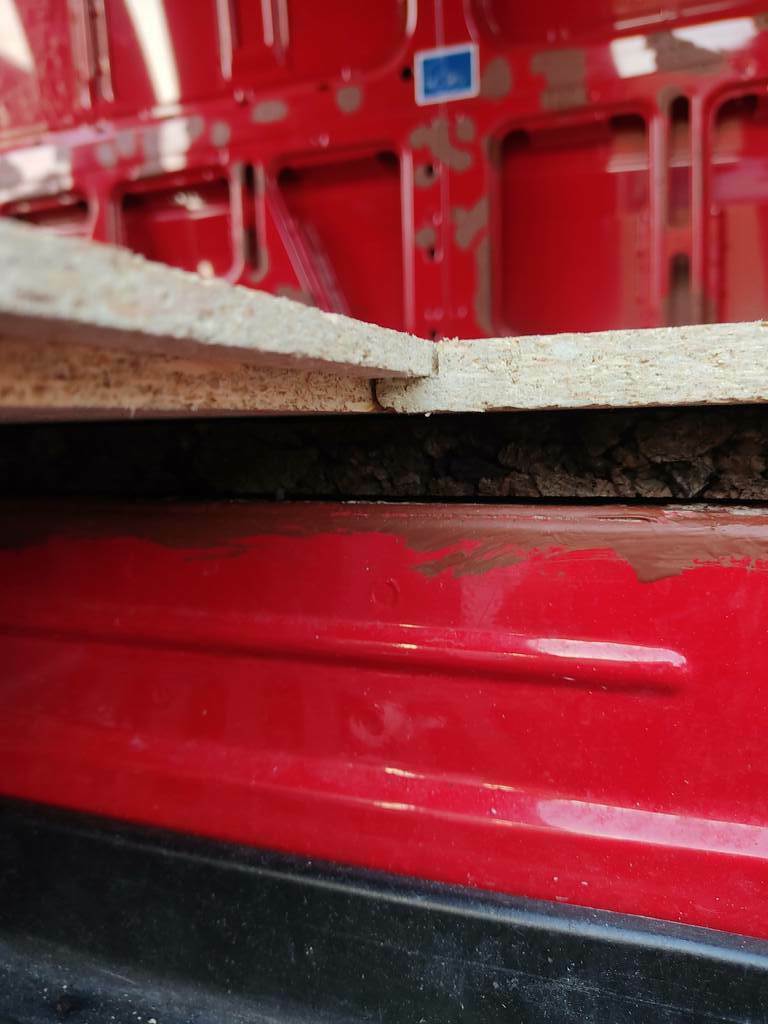 OSB panels junction
Getting this stage only took us a couple of intense work days but we were really satisfied with the results. However we were not quite as finished as we expected. We actually disassembled and reassembled the OSB panels a few times. The first time, about a week later because we forgot to leave enough membrane for the floor / wall junction. A second time, because the French standards require a hole in the floor for leaking gas to escape (we initially planned to put this hole in the wall). A third time, because we finally decided on buying a gas heater (Propex HS2000), which also requires two holes in the floor.
Cutting holes through all the floor layers at once turned out to be quite easy with the right setup, which we got right thanks to the help of Jean Marc. After the cut, we are left with a nice sandwich of the different floor layers. The annoying bit is that it was always necessary to remove the OSB panels and seal the membrane with tescon vana tape. Had we been planning betterf we could have saved some hours, but overall we are quite happy with our new sturdy floor.
 Setup for cutting a hole
 Leftover from the hole
 Sealing for the hole