Installing the roof window
Our first serious build in the van: installing the roof window. We dreaded this step since it involved cutting in the van body.
We picked the MPK vision vent M pro, because it has a certified passive air flow sufficient to homologate our van as a French camper. Like most roof window, we had to build a frame to accommodate it. However, unlike most roof window, there is no screw going through the car body to the frame. Instead, the frame is linked to the roof window with a few supplied plastic pieces.
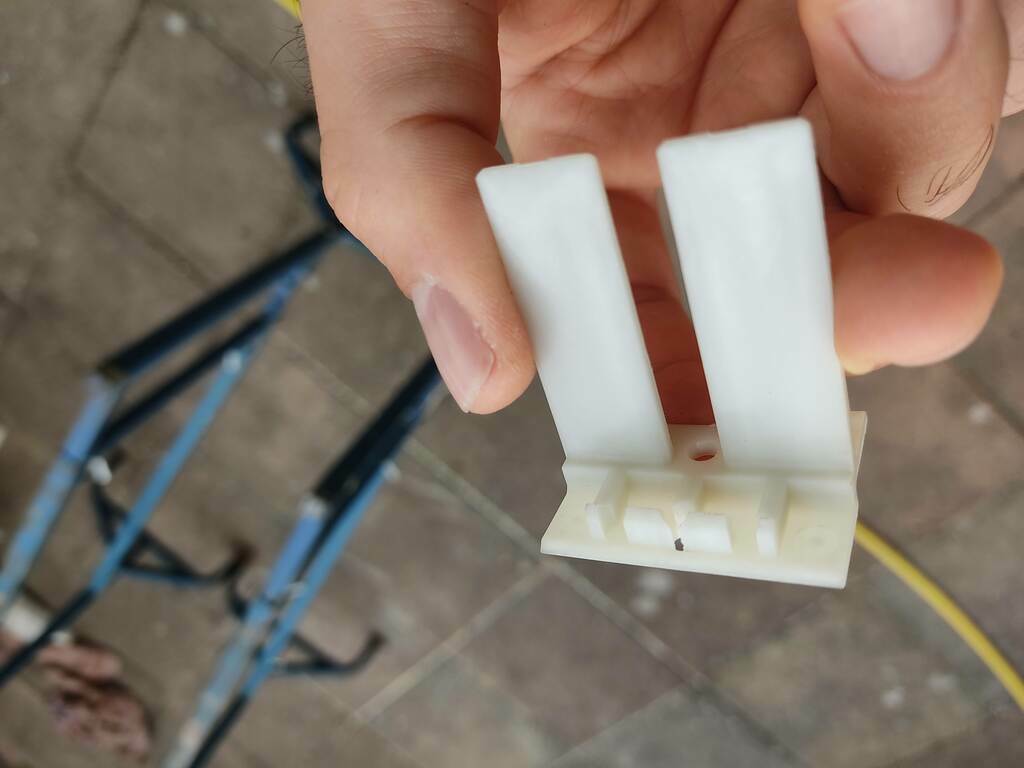 plastic piece
 frame upside down
We had to cut the little teeth of the plastic pieces to make the surface flat. We have also been unable to fit the four corner pieces, so currently the wooden frame only holds with the four border pieces. We will reinforce the structure once we get to the cladding of the roof.
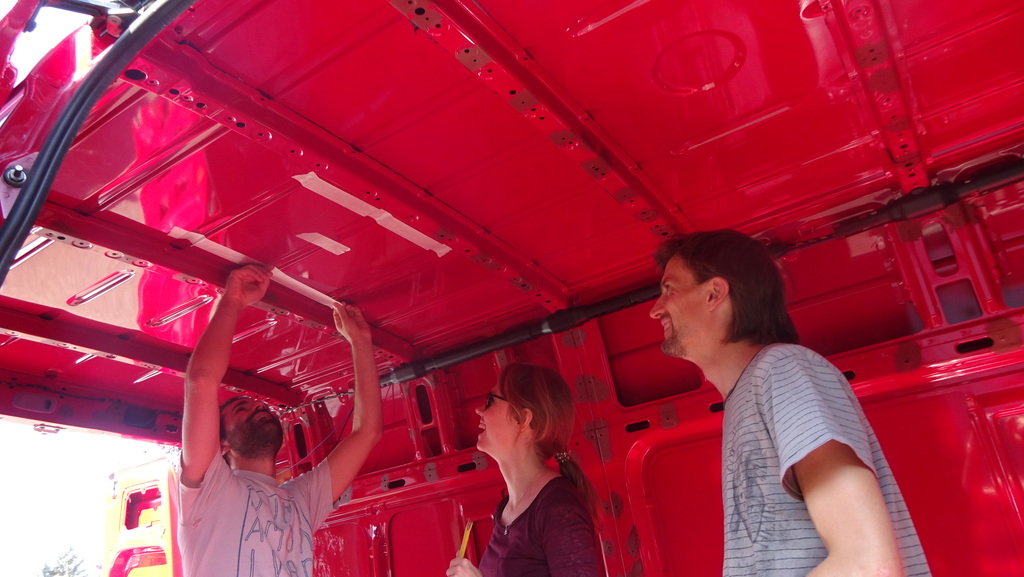
 roof window positioning
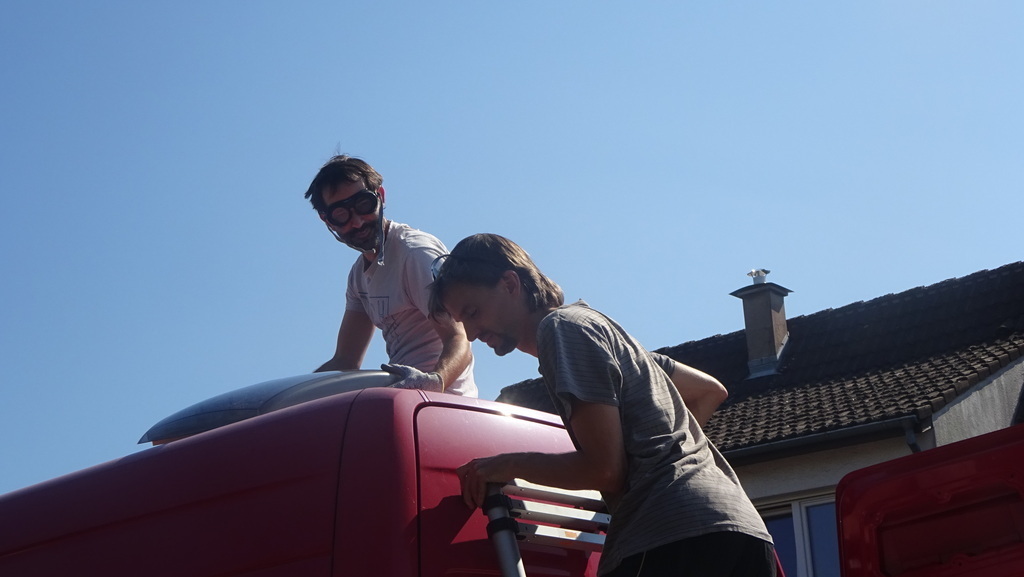
We started the build in the afternoon with our friend Yannick. It was alright to cut the car body with a jigsaw using a small metal blade. We have also tried the "meule" (grinding wheel) but this burned the body rather than cutting it - we probably used an inappropriate disc. It was even easy to cut the hole from underneath. However, cutting from below causes a lot of metallic dirt to fly aroung your head, and a tiny piece landed into my left eye through my security goggles. Nothing serious luckily, but getting it removed by an ophthalmologist took the rest of the afternoon for me while Yannick and Camille finished cutting the hole.
I came back in the evening and we finished the installation of the roof window by gluing it with DEKAsyl MS-2 mastic. It also took some time to wrap the intello plus membrane around the wooden frame to protect the future insulation from humidity.
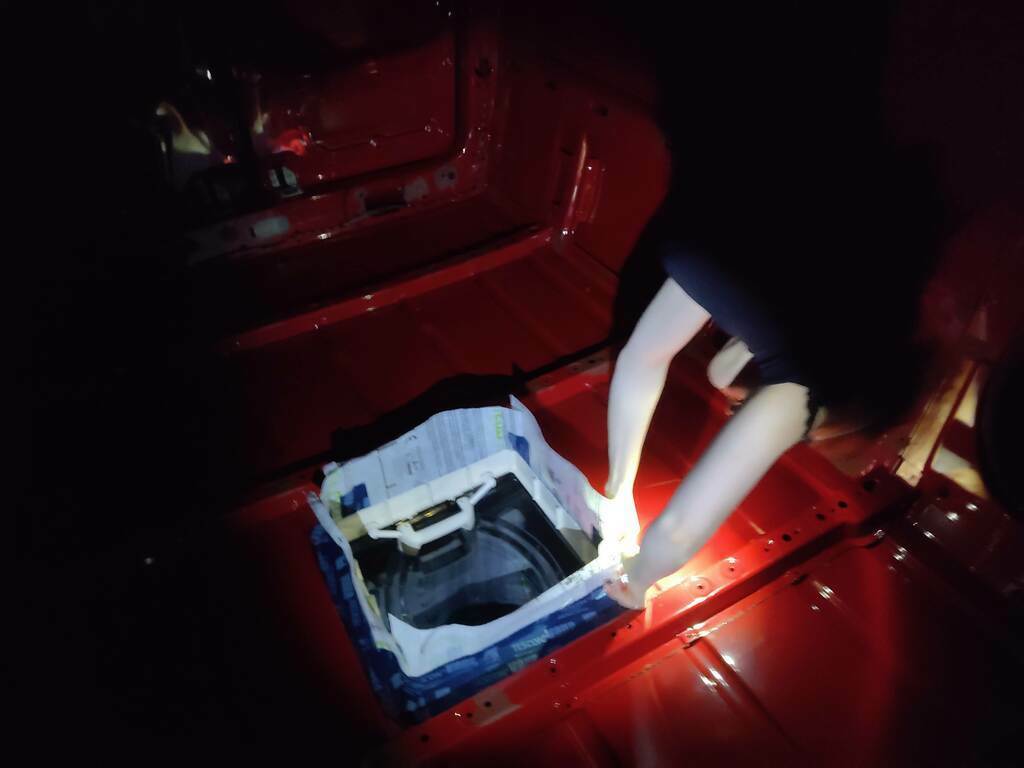 wrapping the membrane