Insulating and cladding the doors
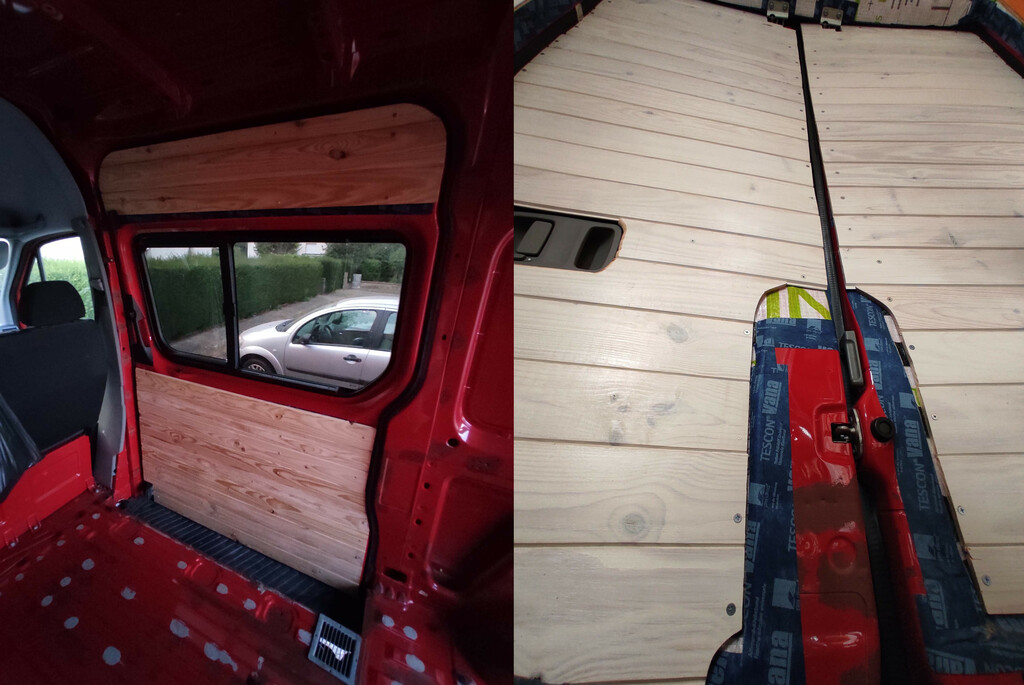
The van has two doors to access the future living area: a sliding door on the side, and a two half doors rotating on the back. We completed the insulation and cladding for the sliding door in mid-September, and the back doors in late November. In between I started tracking time - so I can state that for the back doors it took us 22 hours of work.
 Hemp in sliding door
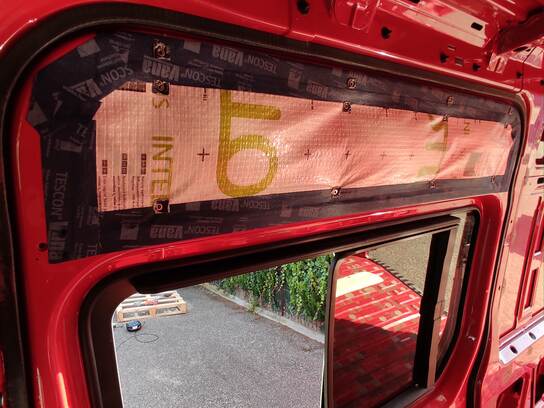 Intello plus vapour barrier
For the doors, the insulation only consists of hemp. Protecting this insulation with the intello plus membrane was tricky around features like door handles and latches which are not air-tight. Those features also made it complicated for cladding, since we decided for lambris instead of a wood panel. Additionally there are a bunch of running cables within the doors' structure to handle locking and lights. It was stressful to drill blindly behind the membrane where we knew cables were near. There was no choice though, since the doors also do not offer so much structure into which you can drill.
 Backdoor handle
 Sealing the handle
 Cladding around
Our technique changed between the sliding door and the back doors. For the sliding doors, we used rivet nuts (rivnuts), whereas for the backdoor we simply used metal screws which was much faster. For rivet nuts, you first drill a hole, in which you then insert the rivet. Using a special clamp, you bend the rivet so that it holds strong on the surface. These rivets are threaded, so once in place you can screw and unscrew screws. The tricky part with rivnuts, is that the hole in the metal and the hole in the wood has to align perfectly. We have used them for the sliding door, since we attached lambris pieces unpainted, took them down a month later to paint them and attached them again. Even there, once painted some holes did not want to align anymore and we had to use standard screws.
 Rivnut backside
 Don't: Rivnut on Naideck
 Lambris
Here is the reason why rivnuts did not work so good for the sliding door in our case. Once a rivnut is installed on the metal with the clamp, it is crucial that it does not start spinning when you insert a screw in it. If it starts spinning, the rivnut becomes useless and you will even have a hard time removing the half-inserted screw. This has happened to us a few times, likely because of the sealing tape inbetween the rivet and the metal. Initially we used the Tescon Naideck tape, which is like a paste, but rivnuts could not hold on it. We later only used the Tescon Vana tape, which is more like a fabric - rivnuts liked it better, but would still rip it off and start spinning if too much force was used to tighten the screw. None of this happened for the backdoors, where the metal screws simply drill through the Tescon Naideck tape and hold on to the metal.